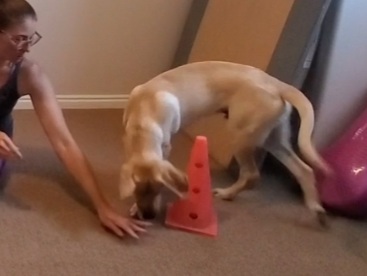
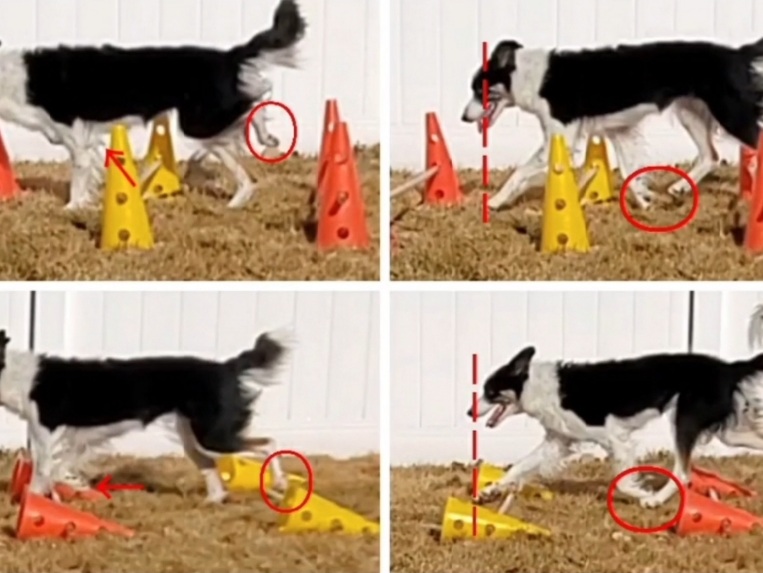
Purpose: Building on what Ron Burgundy learned in the foundation version of this Intro to Cavaletti exercise, now we increase the distance between the cones, and begin to add the cavaletti poles.
Equipment: 2 taller cones, Set of 2 Cavaletti poles
Phase 1 : Distance between the cones
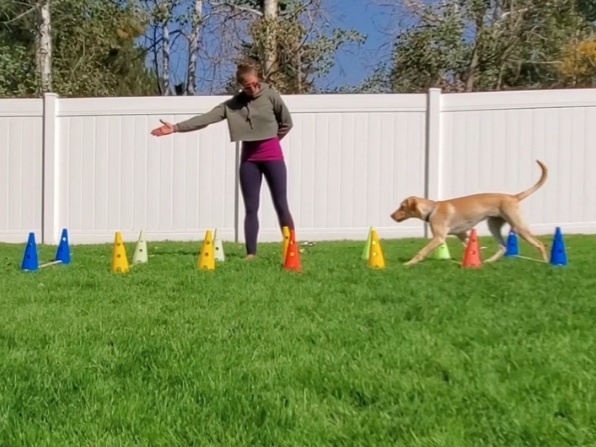
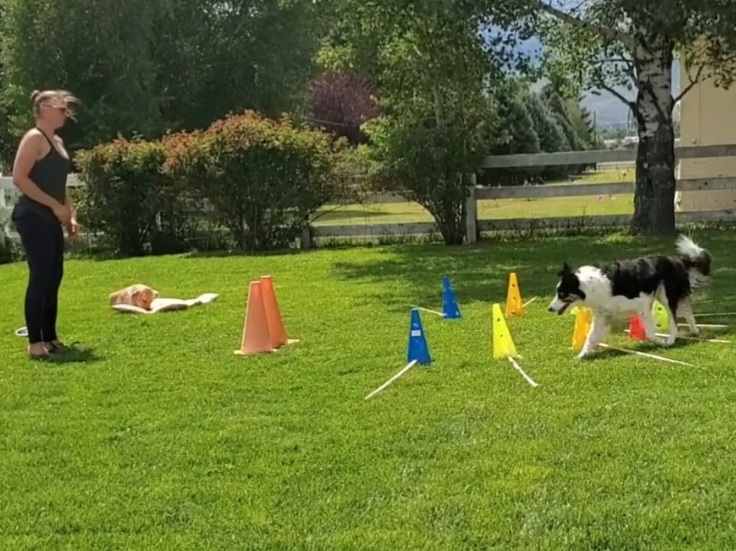
First: you’ll notice there’s no poles, only the target/focus cones that Ron Burgundy will wrap to receive his reward. In an effort to “split not lump”, it’s important to separate out this piece and ensure the dog is proficient at focusing forward toward the target cone, working in a new environment, and able to navigate any increase of distance. Failure to separate out this piece of training, can lead to lack of understanding, the dog turning back in the cavaletti poles and overly focusing on the handler… All things I want to avoid from the very beginning.
Second: Placement of reward is also critical. I want the cookie tossed in approximately the same location each time so the dog knows what to expect, and doesn’t have to sniff to find their reward. Also, consistency in placement of reward helps take the focus off the handler, and onto the exercise… Which can be a sticking spot for some dogs. (This may mean working on YOUR OWN eye-hand coordination skills, by practicing tossing cookies into a bowl from various distances.)
Third: For the first few sessions outside/in grass I use string cheese cut into thin slices across the whole width of the cheese stick. Not only does the white cheese stand out in the green grass, but the large flat size helps the cheese stay on top of the grass vs sinking into the grass.
Last: You’ll notice the same “training loop” technique demonstrated in several of my other videos. Cue → Mark → Reward
Phase 2: After the dog demonstrates fluency navigating the new environment, and the increased distance between the target cones, I feel confident adding two cavaletti poles.
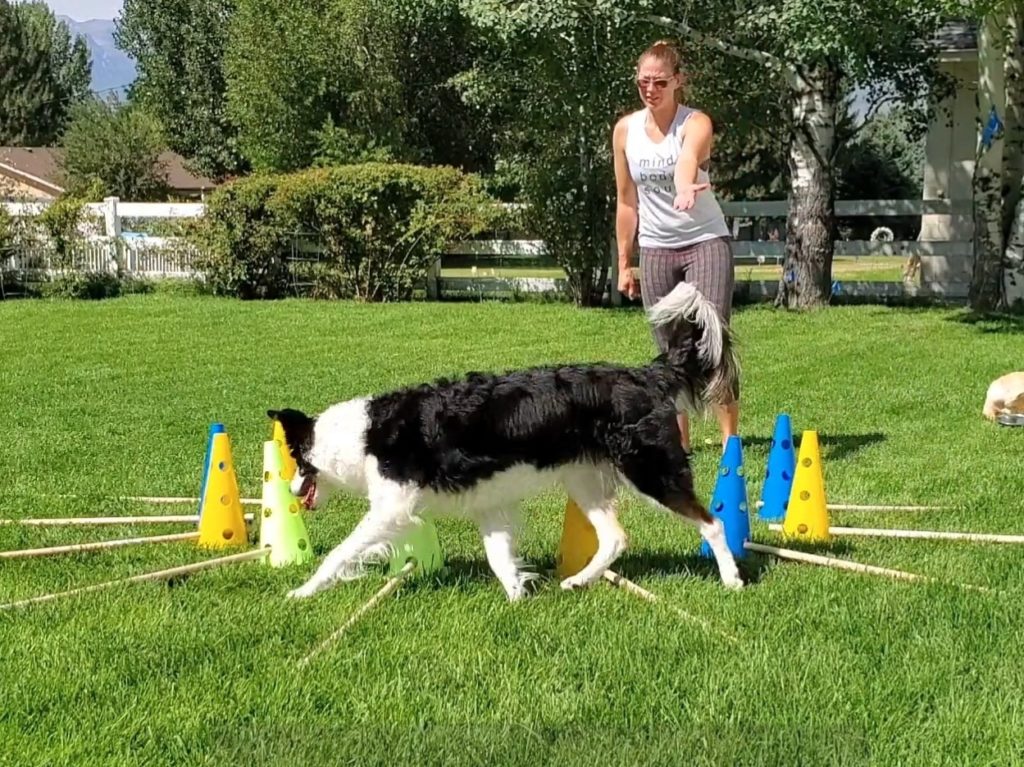
First: the distance between the poles is 2x elbow height or the height of the dog at the withers. Later I will adjust this distance as needed when more poles are added.
Second: the height of the poles is 1″ off the ground (lower for tiny dogs).
Third: there must be enough distance between the target cones and the cavaletti poles for the dog to have a natural stride. Controlling this variable helps prevent the dog from jumping the poles, or stepping on the poles as the spacing accommodates the dog’s natural striding and sets the dog up for success. The spacing I chose today is 2 stride lengths between the cone and first pole. I wouldn’t go shorter than that. Increasing that distance will also increase speed and challenge… which is not the focus at this point in the progression.
Watchpoints: When I begin, the training loop is the same. I’m looking for…
- Relatively coordinated navigation of the poles
- Footfall relatively centered between the poles,
- Focus forward toward the target cones
- Handler motion should be negligible
- Eye contact indirect to the dog and focused on the target cone where the reward will be delivered.
Remember direct eye contact is a natural cue for the dog to look at you. I want my dog focused forward, so I use my peripheral vision to watch the dog, and frontal vision focused on the location of reward delivery.
You’ll notice RB makes one error and jumps over the poles. If that were to happen more than once, I would add an additional reward close to or immediately in front of the poles, (a “stopper cookie“, used in many other videos) to help the dog decelerate and step into the poles in a trot versus carrying their momentum into a canter or even jumping. This can be especially helpful for dogs trained in agility, who might be confused about what they are supposed to do in this situation. (Later that deceleration reward can be faded for most dogs)
If your dog is struggling to focus forward, stepping on the poles, or seeking too much support from the handler, it’s likely more time is needed at the foundation variation of this exercise.
