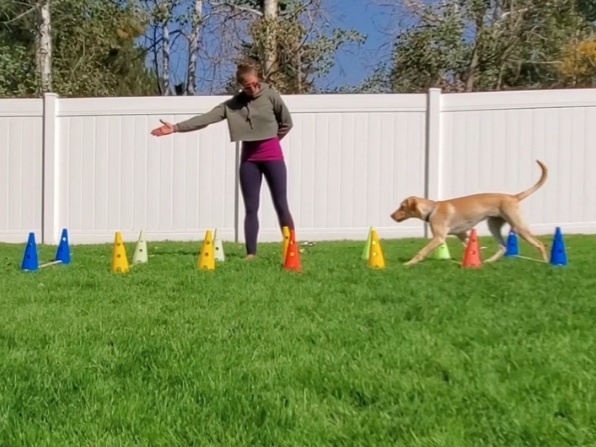
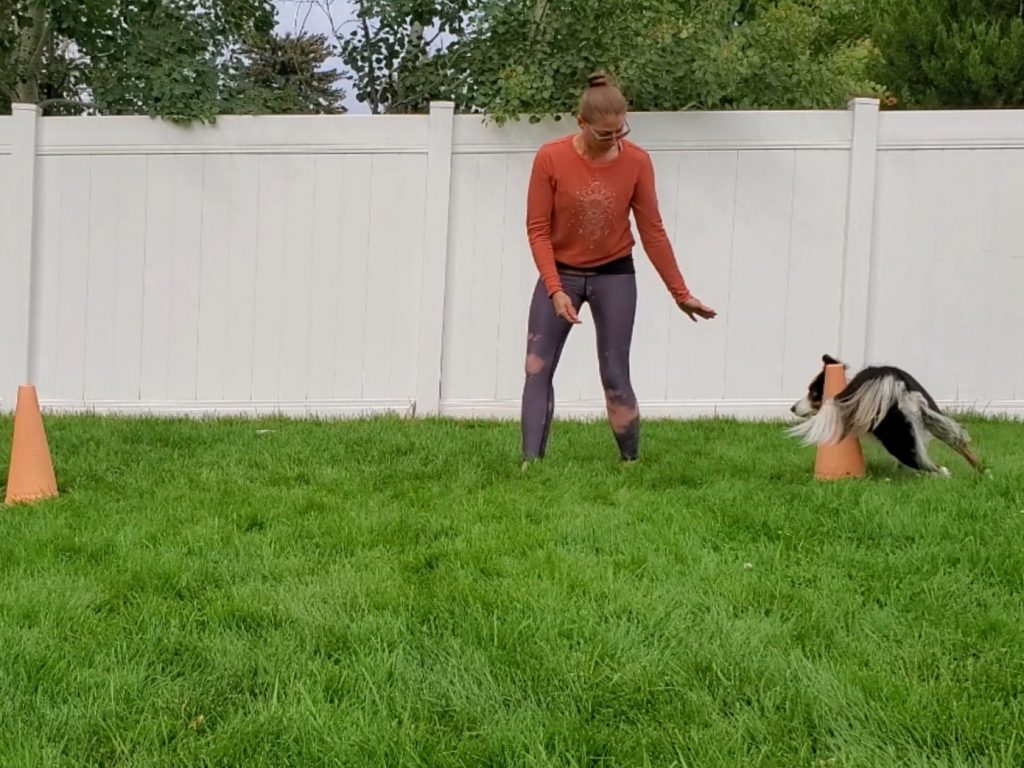
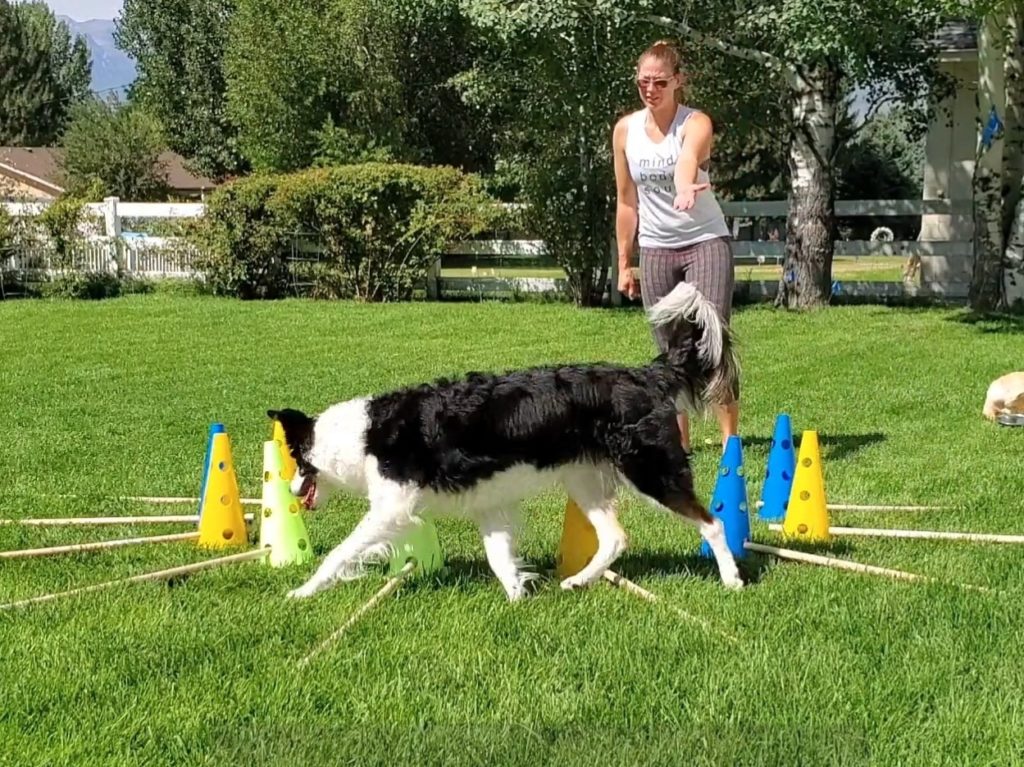
Purpose: This video details how to implement cavaletti poles on a curve, building to Cavaletti Circles.
Equipment: Set of 10 Cavaletti poles
Targets: Hot Rod likes to go FAST and turn TIGHT… But that’s not always the best thing for correcting muscle imbalances, and strengthening weak stabilizers. Going fast allows her body to cheat by using momentum, and skipping over the parts that are hard.
This curved cavaletti setup helps control speed and stride, while “forcing” the hip, shoulder, and stifle stabilizers turn on, in order to control/absorb the angular momentum created by the set curve. This setup also helps teach the spine to bend properly, and works to address a coordination deficit that might be present between the dominant and non-dominant side. Just like humans are “handed”, dogs are too.
Setup: Spacing between the cones on the inside of the curve should be slightly less than the height of the withers (or 2x elbow height), and fan out evenly. The dog can then adjust their proximity to the cones, in order to find their striding/ideal spacing. The closer the dog is to the cones, the shorter the stride spacing. The further away from the cones, the more stretched the stride spacing. The sharper the curve (more tightly the inside cones are set) the more angular momentum, and the more difficult the challenge. Tightening the radius of the curve should happen gradually. A progression can be seen in the Cavaletti Circles 2: Expert video.
Watchpoints:
- This is an advanced level exercise, and dogs attempting cavaletti on a curve should be 100% fluent working on a straight line. Dogs who are struggling with looking at the handler, not driving to the cone or target should return to an easier variation.
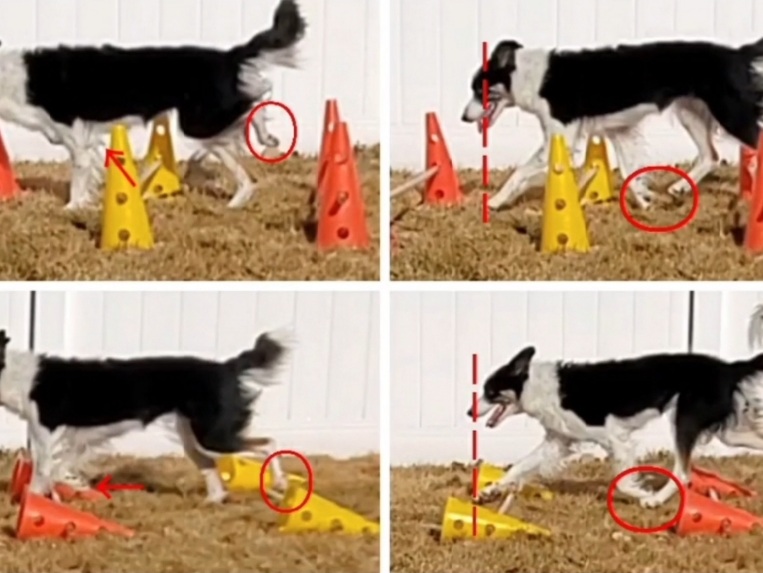
- If you notice your dog is adding steps/ticking poles, and this has not been an issue in previous variations, it’s likely you’ve made an error in the setup / spacing of the cones and/or poles. It really is critical that you measure vs “eyeballing it”.
