What is a training loop?
For the purposes of Canine Conditioning, a training loop refers to a cyclical repetition of consistent, predictable behaviors from the handler that helps the dog predict what is expected of them. For example, a simple training loop I use consistently through my videos is…
- Reset cookie
- Dog approaches props
- Reward
- Cue Behavior
- Reward
- Cue the dog to step off props
- Reward
- Reset cookie
- And the loop begins again
Why use a training loop?
The main reason I like to use a training loop is consistency. When I implement consistency in my training, the dog knows what to expect. When the dog knows what to expect, they usually offer the right behavior the first time, and I reward that BRILLIANT effort. This reduces frustration, offering random other behaviors, and prevents the overarousal or underarousal (shutting down) that comes with frustration.
To get a little bit technical, it’s all about the ABC’s
What are the ABC’s you ask?? The ABC’s I’m referring to are Antecedent, Behavior, Consequence. Let’s break that down
Antecedent
This refers to the conditions or factors that lead to a behavior. Or the variables present that precede the behavior. With canine conditioning examples of antecedents might be
- Entering the training room
- Specifics of the prop set up
- Location of the handler
- Handler motion/body position change
All these things give the dog information about what is happening, what is about to happen, and what is expected of them. If I am consistent in my training loop, this information is reliable, predictable and indicates to the dog “that thing we did before with these same subset of variables… We’re doing that again”. Predictability breeds confidence. This predictability helps my dog choose right the first time… which leads us to the B of the ABC’s
Behavior
This may be self-explanatory, but behavior refers to what your dog does in response to the antecedent. What behavior, movement, position does the dog offer in response to the subset variables contained in the antecedent? Some examples of behavior Ron Burgundy might offer as the result of a consistent antecedent are
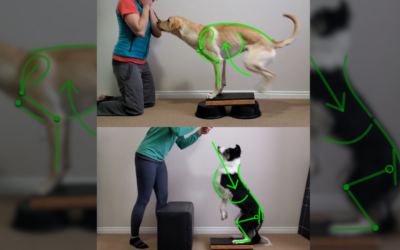
- Single prop on the ground close to the handler position, front feet step on the prop
- Single prop on the ground away from the handler position, rear feet step on the prop
- Two props, front feet step on the one closest to the handler, rear feet step on the one away from the handler.
I could expand this list, but you get the point. I can use this inherent concept to increase the likelihood my dog will choose correctly when I implement my training loop. This leads us to the C of the ABS’s
Consequence
This is what happens to your dog immediately after the behavior. For Canine Conditioning purposes, this is a Cookie (R+) to increase the likelihood the behavior will be repeated, or withholding a cookie (R-) to communicate “not that behavior, try something else”.
If I set up the antecedent portion of my training loop correctly, my dog will have enough environmental “contextual clues”, and choose the right behavior (or a close approximation of the starting behavior) right from the start, and I can deliver the consequence (reward) immediately.
Maybe I should adjust the ABC’s to be Antecedent, Behavior, COOKIE!!!
If you’re interested in a more technical article on the ABC’s as they refer to Applied Behavior in dog training, see this amazing article on Clickstart Dog Training Academy
Now to see it in action
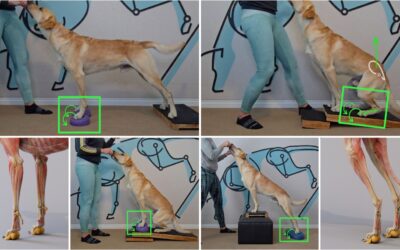
This is a full training session introducing Ron Burgundy to this strip of Sensi Mat. This is the very first time he has ever seen this prop, and ultimately, I want to be able to use this prop as a tool to help him with detailed/specific foot placement when on larger props (demonstrated in the video).
BUT if I start with the final set up… The antecedent will be meaningless … as the number of variables presented will be overwhelming, confusing and unclear.
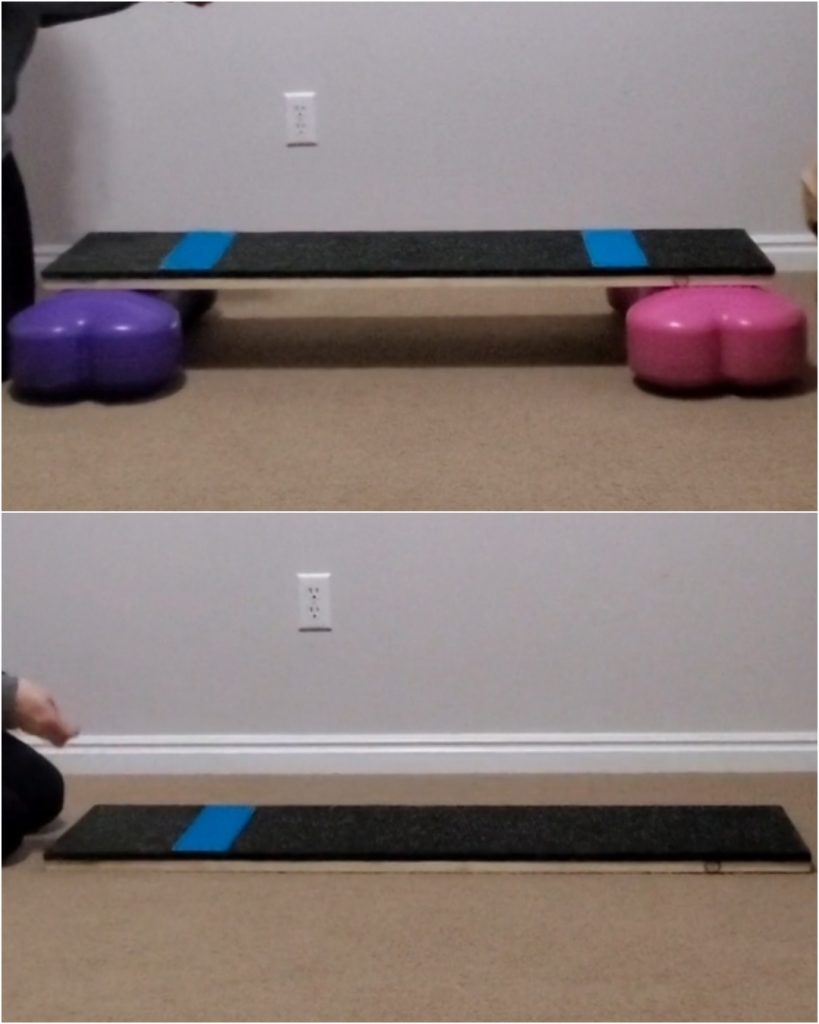
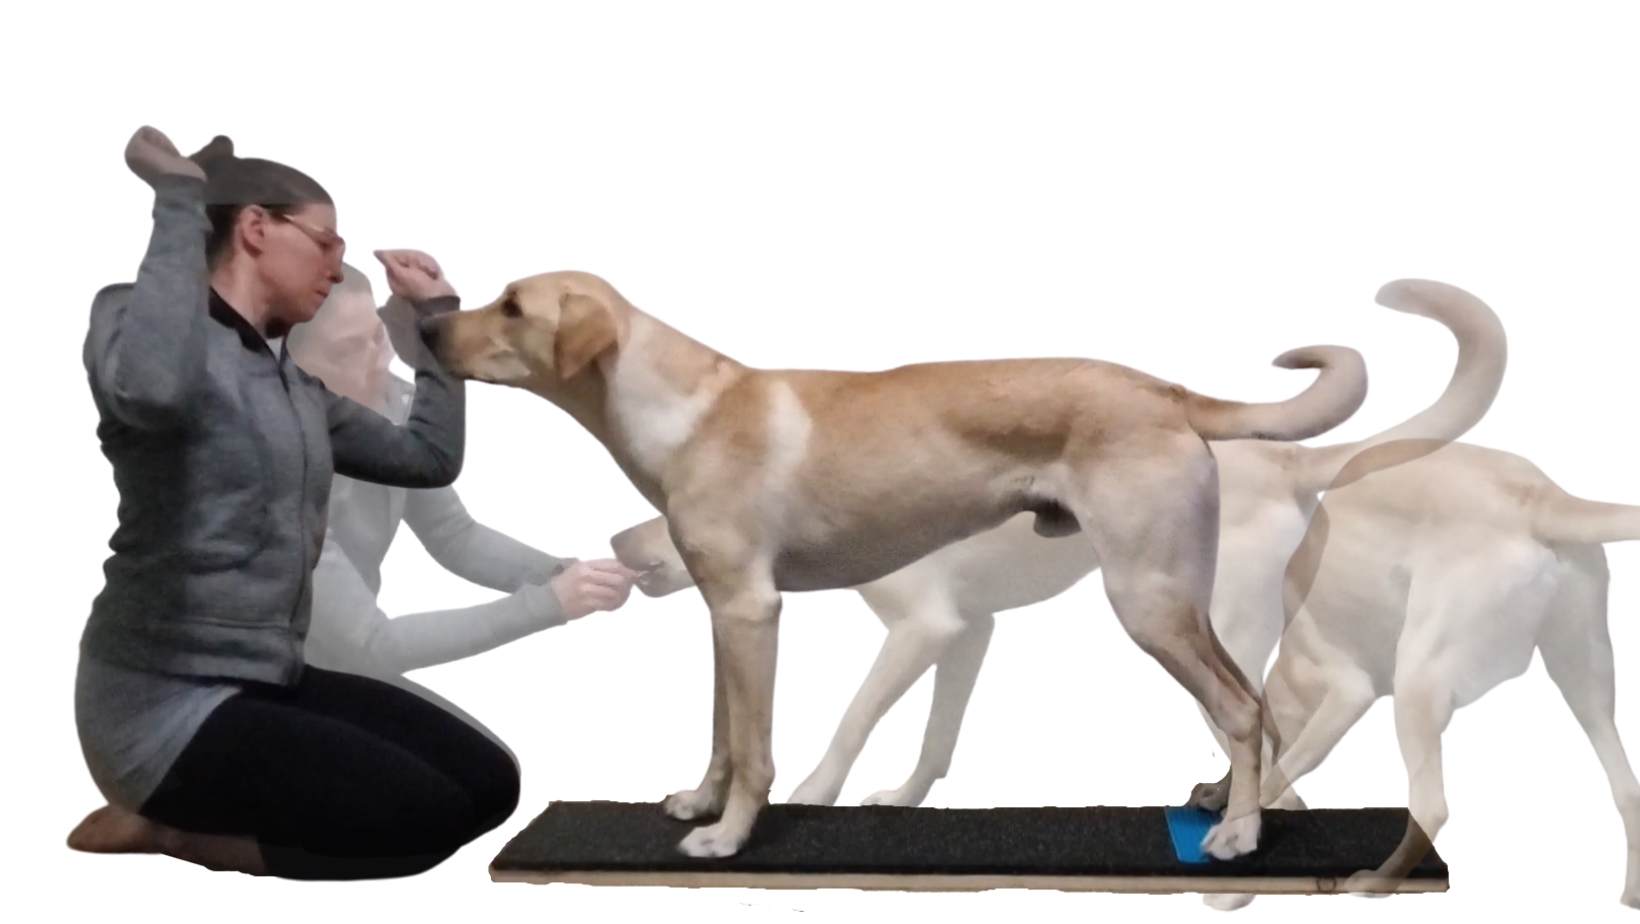
So I start with a simple antecedent (single prop placed close to the handler) to help Ron Burgundy choose the correct behavior from the START, allowing me to deliver the COOKIE, and then restart the training loop. As he demonstrates understanding, I layer on more criteria requirements. But now the training loop BECOMES the antecedent… helping RB predict what behavior I want next (supported by the recent reward history), so he can easily earn his cookie and avoid frustration.
Tips to help implement a training loop with your pup at home!
- Plan ahead: Planning a training session is critical. Have your exercises planned, props gathered, and criteria predefined. Maybe even write it down (I don’t mean to blow your mind!!), and SET UP YOUR TRIPOD!! Video everything to see what went right and what went wrong, so you can adjust for next time.
- Practice your loopy mechanics: Toss some reset cookies! Do they go down the heat vent (Katia… I’m lookin’ at you)!!?? Cover that sucker up! Go through the motions of delivering the cookies. Are you going to be using a cookie reservoir in your hand, or have a bowl nearby to reload? Which works better for this particular exercise, and this particular dog? Are you going to need to stabilize the equipment? How are you going to do that?
- Prep the space: Are there other props around that could mistakenly be interpreted as part of the antecedent? Move those out of the way and present a clear picture to your pup.
- Play: Now bring the dog into the picture and stick to the rhythm of your training loop!! Reset cookie. Stopper cookie. Cue. Behavior Cookie. Off cue. Off cookie. Reset.
- Play it back: Watch the video!!! If it’s horrible AWESOME you’ll learn. If it’s amazing POST IT and show us what a loopy dog trainer you are!! I learn SO MUCH from watching my video back. With implementing a training loop, there’s lots of stuff going on, and if things do go sideways, I want to know why. My memory isn’t always accurate… So having video to review is critical, so I don’t keep making the same mistakes over and over again.
Want to give Loopy Training a try?
Check out the Square Stand: Foundation and Teaching Stillness: Beginner tutorials to make sure you set your pup up for success!!
This is an awesome demonstration and very, very helpful for someone like me who is a beginner. Can I ask a question please–does the dog “look down” at all to see where his feet are (he can see the blue line)? Or, is the target a different texture so that he can feel where to put his feet? Or, he just figures out where to put his feet based on your rewards? Thank you so much!
Hey Haley!
Those are all great questions! And generally, it’s a combination of all three things.
Initially, the dog does look and see the difference in the color, and is guided by the timing of my mark and placement of reward.
He then builds an association between the mark/reward and the different texture… Texture = cookie. So he starts to rely less on seeing the color difference, and more on the physical sensation of the texture.
And then over time, the position itself begins to have built in “muscle memory”. Which is the ultimate goal. But I still always use some kind of prop or foot target to support proper position/alignment.
Silly question, but how long should conditioning sessions be in general?
Hey Nadezhda!
Not a silly question at all! The answer is a bit custom to the individual dog/handler team. As a general rule, we want to end any training session before the dog hits the mental fatigue point. This is generally characterized by an increase or decrease in arousal level. So depending on the age of the dog, the skill of the dog and the skill of the handler, that might range anywhere form 1 min to 15 or 20 min.
For example, puppies and young dogs have yet to develop the mental stamina to focus for an extended length of time… So dogs in that population will need shorter training sessions. Probably something between 1-5 min.
More skilled dogs like Hot Rod or Ron Burgundy have built up more mental stamina and focus… So our training sessions might last closer to 10-20 min depending on whether the skill being trained is a new skill or a known skill.
More skilled/experienced handlers have more experience with marker timing, so are more likely to mark/reward with precision. This makes learning easier for the dog, as a result the dog expends less mental energy, allowing for a longer training session.
So the variables the individual team is working with will determine the duration of any individual session. Does that answer your question?
This may really be a silly question: I couldn’t possibly sit on my legs for that long! Will it work with the trainer sitting on a chair?
Hey Judy!
That’s a great question! And you could definitely sit crosslegged on the floor or on a cushion… Or in a chair. There are also some “meditation benches” that allow you to sit in a kneeling type position… But put no weight into your knees. So there are many, many options. I also have a few clients that sit in a chair, and also have the dog work on a slightly raised platform in order to keep the height proportion similar.